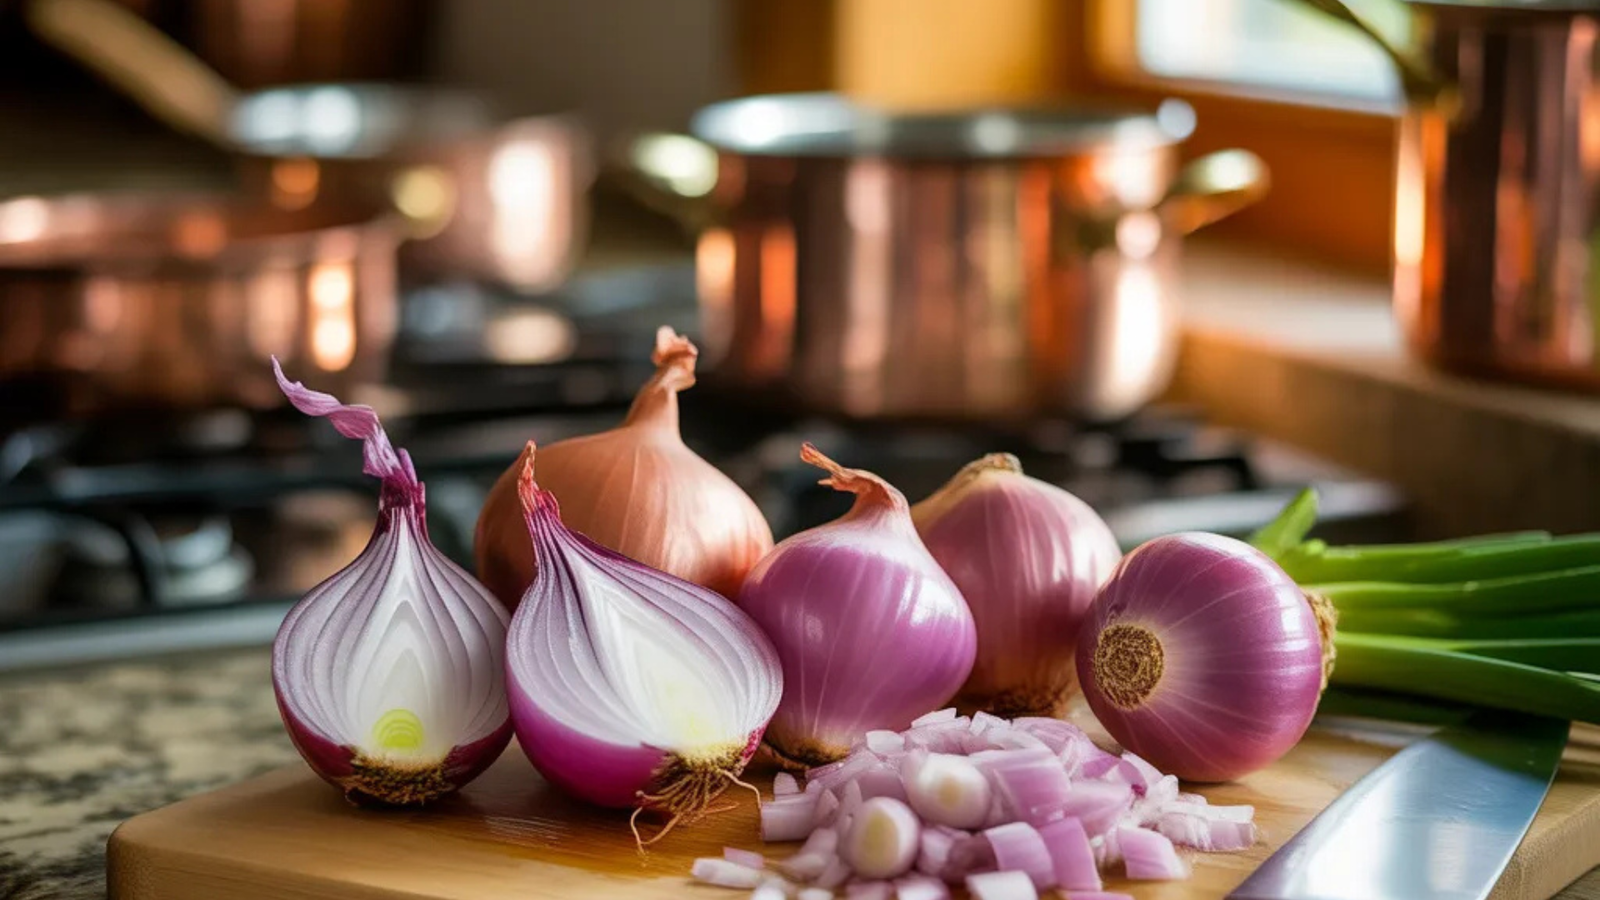

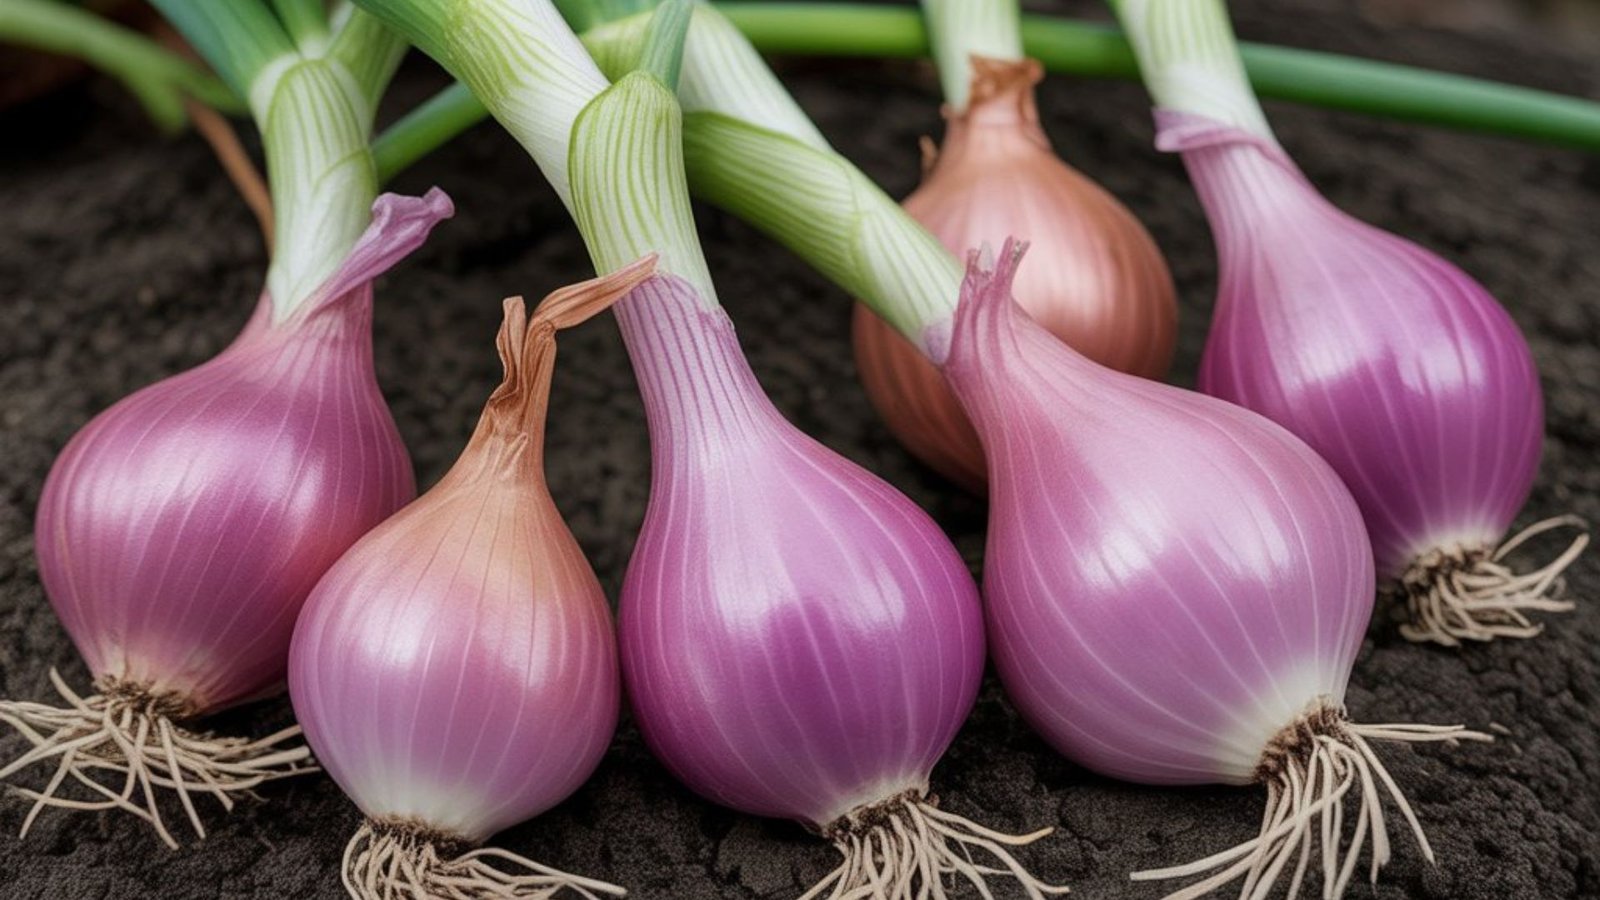
Shallots are a versatile and flavorful addition to any home garden, offering a unique taste that sets them apart from onions and garlic. Learning how to grow shallots at home allows gardeners to enjoy fresh, aromatic bulbs year-round. With proper shallot soil preparation, full sun, and attention to shallot seedlings, you can achieve healthy, multiplying bulbs.
Both organic shallot sets and Conserver shallot plants are excellent options for beginners and experienced growers alike. Understanding planting depth, spacing, and care ensures strong growth, disease resistance, and a long shallot storage life, making your harvest both rewarding and practical for the kitchen.
Best Types of Shallots to Grow (French, Dutch, Gray & Hybrid Varieties)
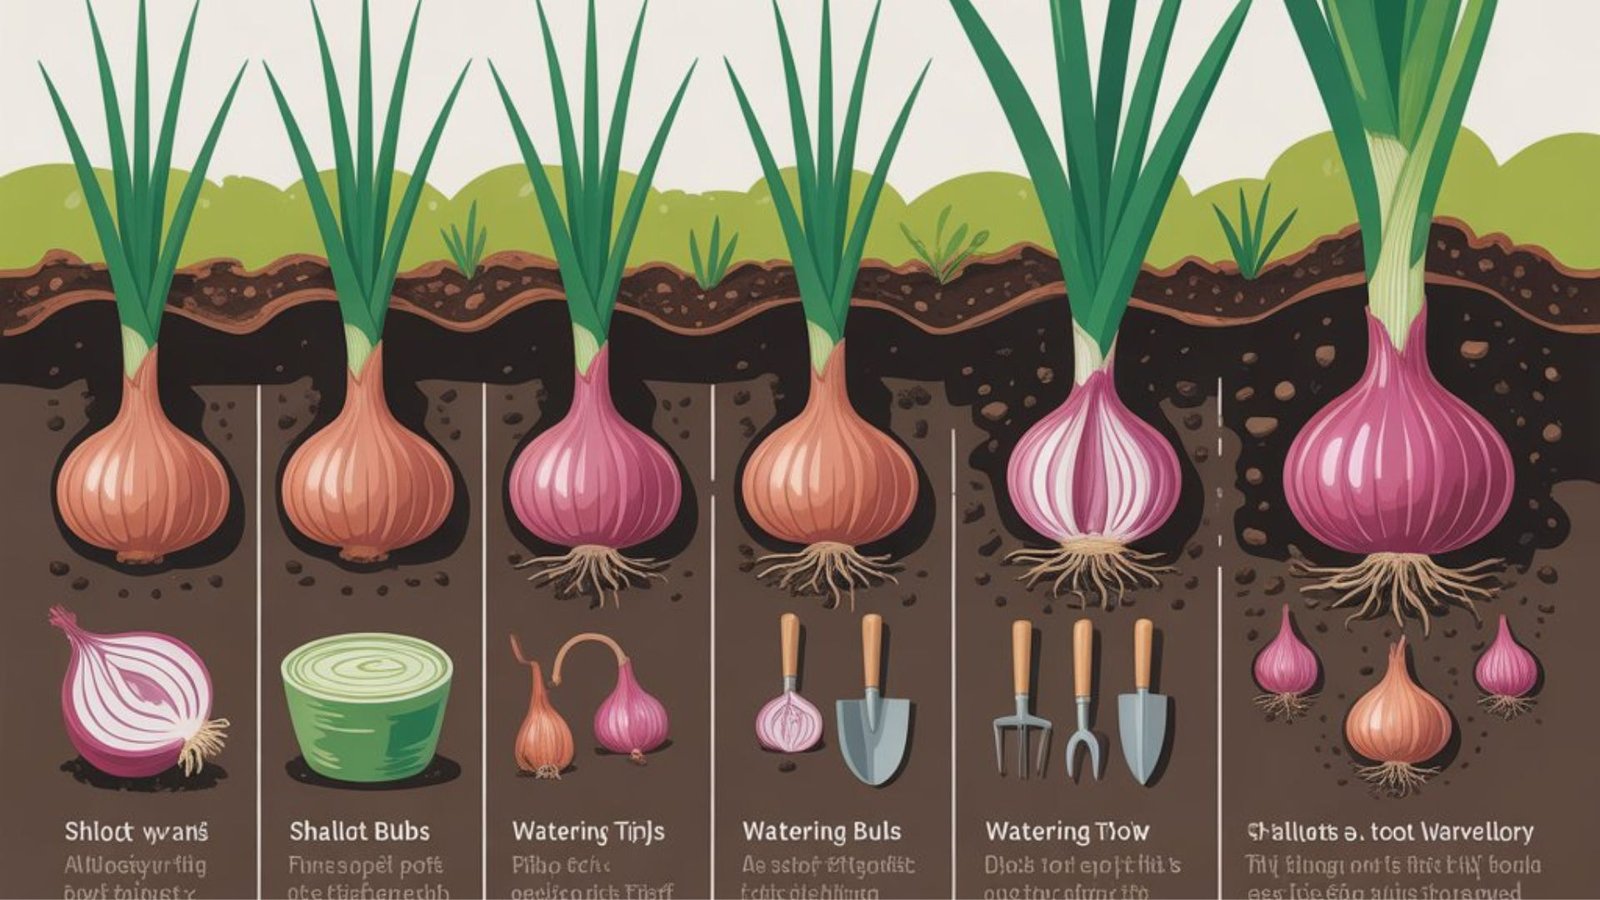
French and gray shallots thrive in many regions and are known for their deep colors and steady yields. Gardeners love these multiplying shallot varieties because each bulb divides and forms clusters, giving you more bulbs from every planting session. They also carry a naturally rich shallot flavor profile.
Home growers in cooler climates often choose Conserver shallot plants, which stay elongated and store well. Many small growers also prefer greenhouse-grown shallots, especially when early plantings are needed for strong harvests. how to grow shallots is very easy way.
When to Plant Shallots for Maximum Growth and Flavor
Many gardeners pick fall for planting because cooler temperatures trigger strong root growth. These fall-planted alliums develop better flavor and size, especially where winters stay mild to moderate. Planting early allows bulbs to rest, settle, and prepare for spring growth.
In colder zones, planting shallots in spring delivers excellent results. These spring-planted alliums enjoy warming soil, longer light hours, and smooth development without frost damage. Just protect young bulbs from temperature fluctuations during early growth.
Soil, Sunlight, and Site Preparation for Strong Shallot Bulbs
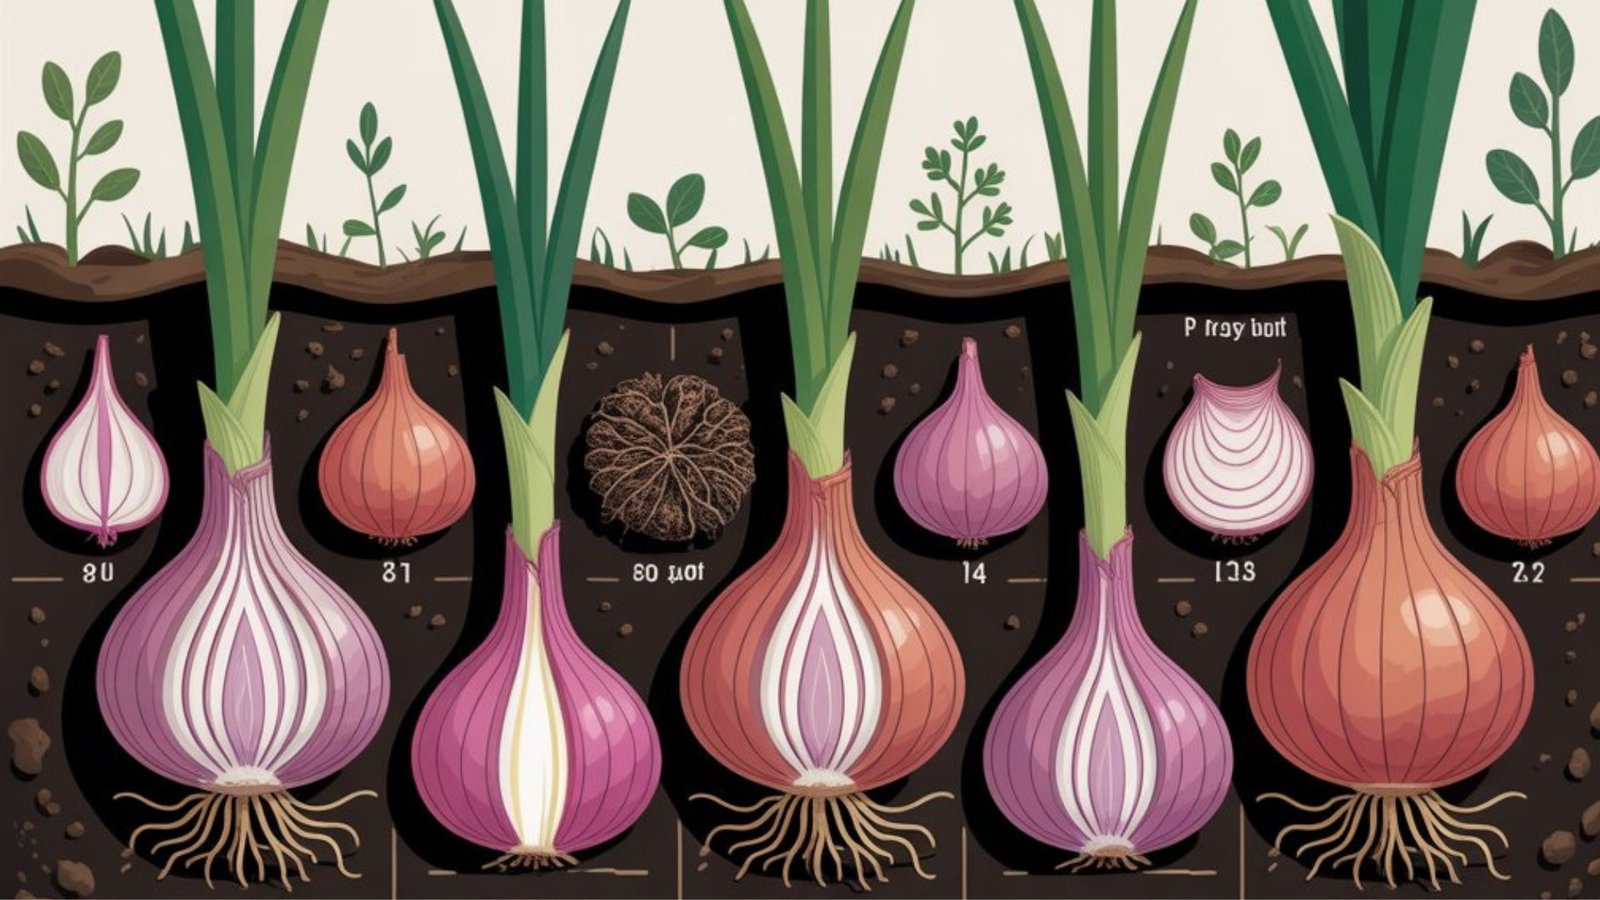
Shallots thrive when planted in well-drained fertile soil amended with compost because the nutrients help support rapid early growth. Adding organic matter improves texture, encouraging steady shallot root development in loose soil. Sandy loam usually gives the best results.
Always choose a full-sun location because shallots full sun requirements directly influence bulb size and flavor. Preparing beds early allows moisture balance, stronger germination, and healthier growth, especially in compost-amended soil. Good sunlight strengthens the plant’s natural resistance.
How to Plant Shallots: Depth, Spacing, and Step-by-Step Instructions
Most gardeners start by separating the bulbs to encourage growing shallots at home without overcrowding. Set each bulb with the pointed end upward and keep the soil slightly firm. Good contact encourages fast sprouting and better energy flow.
Spacing matters. Follow a clear shallot spacing guide to avoid crowding and nutrient competition. Giving enough room aligns well with spacing for allium crops, ensuring each bulb forms clean, flavorful clusters that multiply naturally.
Essential Care Guide: Watering, Mulching, Feeding & Weed Control
Keeping soil evenly moist helps maintain soil moisture regulation and steady growth. Many gardeners observe strong progress when watering shallots properly, especially during warm spells. Moist soil protects them from stress and improves flavor development.
Adding mulch helps create stable temperatures around the bulbs. Many growers prefer straw mulch for shallots, which lowers weed pressure in shallot beds and limits evaporation. Use a rich, balanced allium fertilizer to support these heavy feeders without overloading the soil.
Common Shallot Pests and Diseases and How to Prevent Them
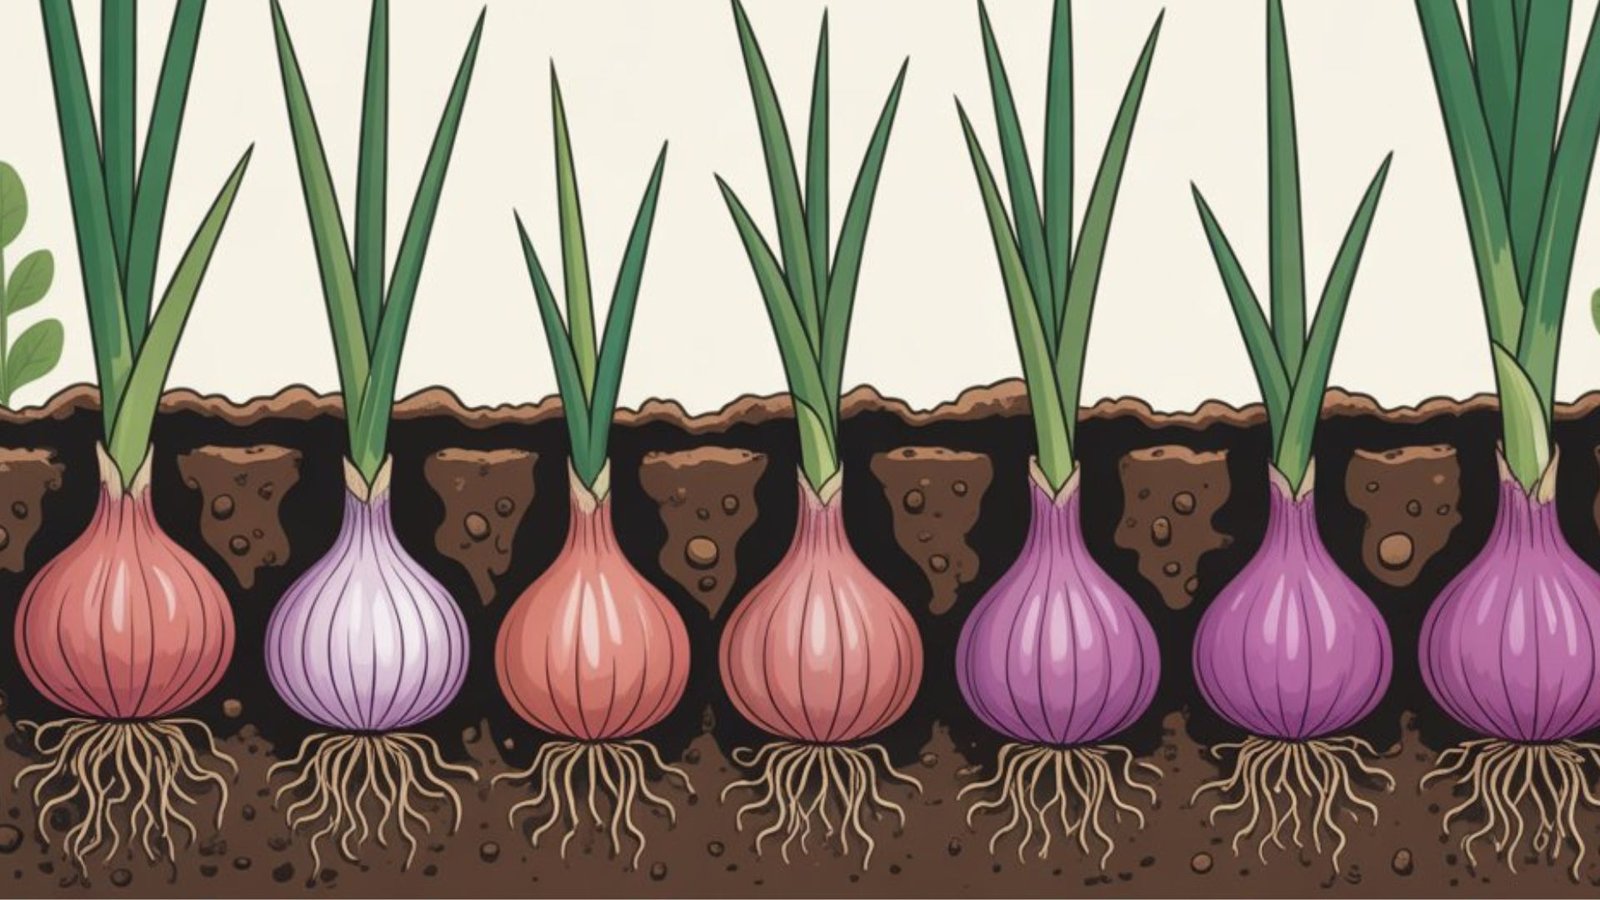
Healthy shallot beds resist trouble when planted in clean soil with good airflow. Many gardeners prevent rot by maintaining balance in watering and improving drainage. These steps naturally boost disease resistance in shallots throughout the season.
Avoid compacted soil and reduce moisture around the neck of bulbs. Good airflow limits fungal spread and improves long-term growth. This helps reduce early stress, which often slows the shallot germination timeline during cool seasons.
Flowering, Seed Production & How to Save Shallot Seeds
Occasionally, shallots produce flowers when stressed or exposed to unexpected temperature shifts. The bloom may slow shallot root development, so gardeners often remove it quickly to redirect energy to bulb expansion. This helps keep productivity strong.
If allowed to flower fully, you can practice shallot seed saving for future plantings. Collect dry seed heads once they fade and store them in a cool place. Some growers prefer this natural approach to preserve genetic traits.
Harvesting Shallots: Signs of Maturity & Best Cutting Methods
Plants show signs of readiness when greens collapse. This shallot top dieback before harvest often means the bulbs are at full size. Gardeners pull them gently to keep skins intact and protect future storage quality.
True maturation appears when outer skins turn papery. Many growers use simple tools to loosen soil and keep clusters undamaged. Following this method boosts overall success during harvesting shallots each season.
How to Cure, Store & Keep Shallots Fresh for Months
Fresh bulbs require a slow drying stage known as the curing period for alliums. This process strengthens skins, closes necks, and reduces future mold issues. Proper curing keeps layers tight and enhances long-term usability in your kitchen.
Humidity is a major factor. Good airflow and controlled humidity control during curing produce strong bulbs ready for storage. Once cured, place them at the optimal storage temperature for shallots, ensuring their quality lasts for months.
Using Shallots in the Kitchen: Flavor Tips, Cooking Uses & Preservation
Cooks love using shallots because they enhance meals with delicate sweetness and depth. Many enjoy cooking with fresh shallots in sautés, soups, and salads. They add fragrance to dressings, especially the classic balsamic vinaigrette with shallots.
Shallots blend well with herbs, tomatoes, and roasted vegetables. Their enduring shallot storage life lets you enjoy them through winter, keeping your kitchen stocked with flavorful, easy-to-use bulbs for countless recipes.