Have you ever wondered how to grow a plum seed into a tree that produces sweet, juicy fruit? Many gardeners in the USA enjoy this challenge because it’s both fun and rewarding. Growing a plum tree from seed is not difficult, but it requires patience and the right steps.
From how to prepare plum seeds for planting to understanding the cold stratification process for plums, each stage is important for success. You’ll also learn fruit tree germination methods, proper plum tree care and maintenance, and when to transplant your seedling. With careful attention, your tiny seed can grow into a thriving fruit tree.
Can You Really Grow a Plum Tree From Seed?
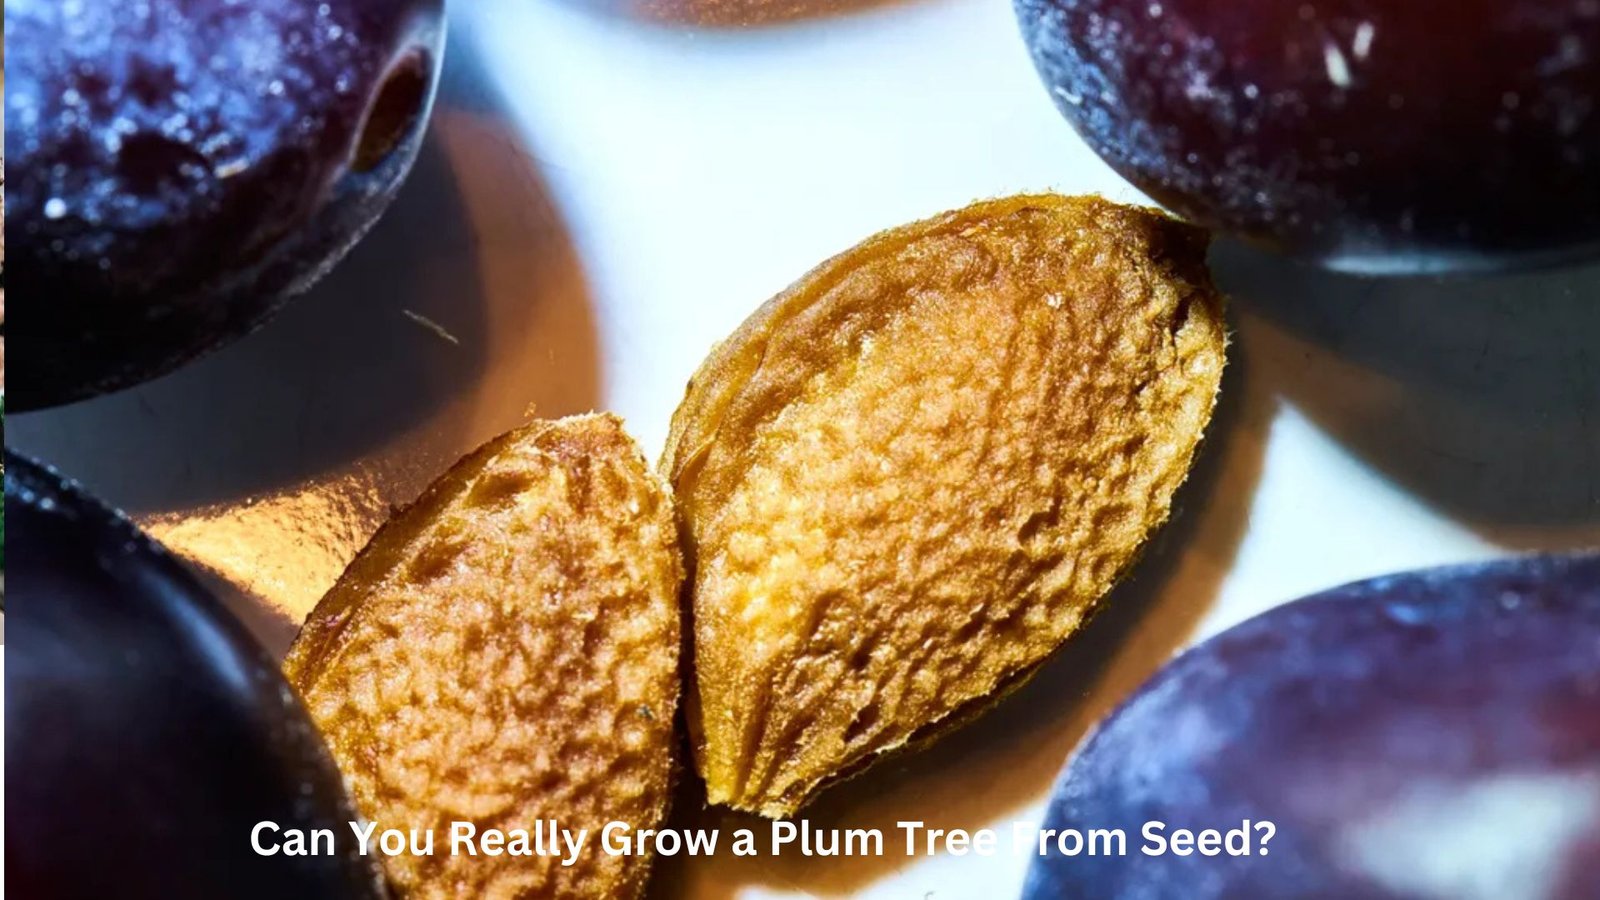
Many people ask, “Can you grow plums from a seed at home?” The answer is yes, but the tree you grow may not be the same as the fruit you ate. This is because most commercial plums are grown on special rootstock. Understanding the difference between rootstock vs seed-grown plum trees is important because it shows why fruit might vary in taste and size.
There is also a difference between wild plum vs grafted plum tree differences. Wild plums often grow true to the parent fruit, but grafted plums may give you something completely different. Some might not even produce fruit. Still, planting seeds is a fun experiment that teaches you how nature works and how trees adapt.
Choosing and Preparing Plum Seeds
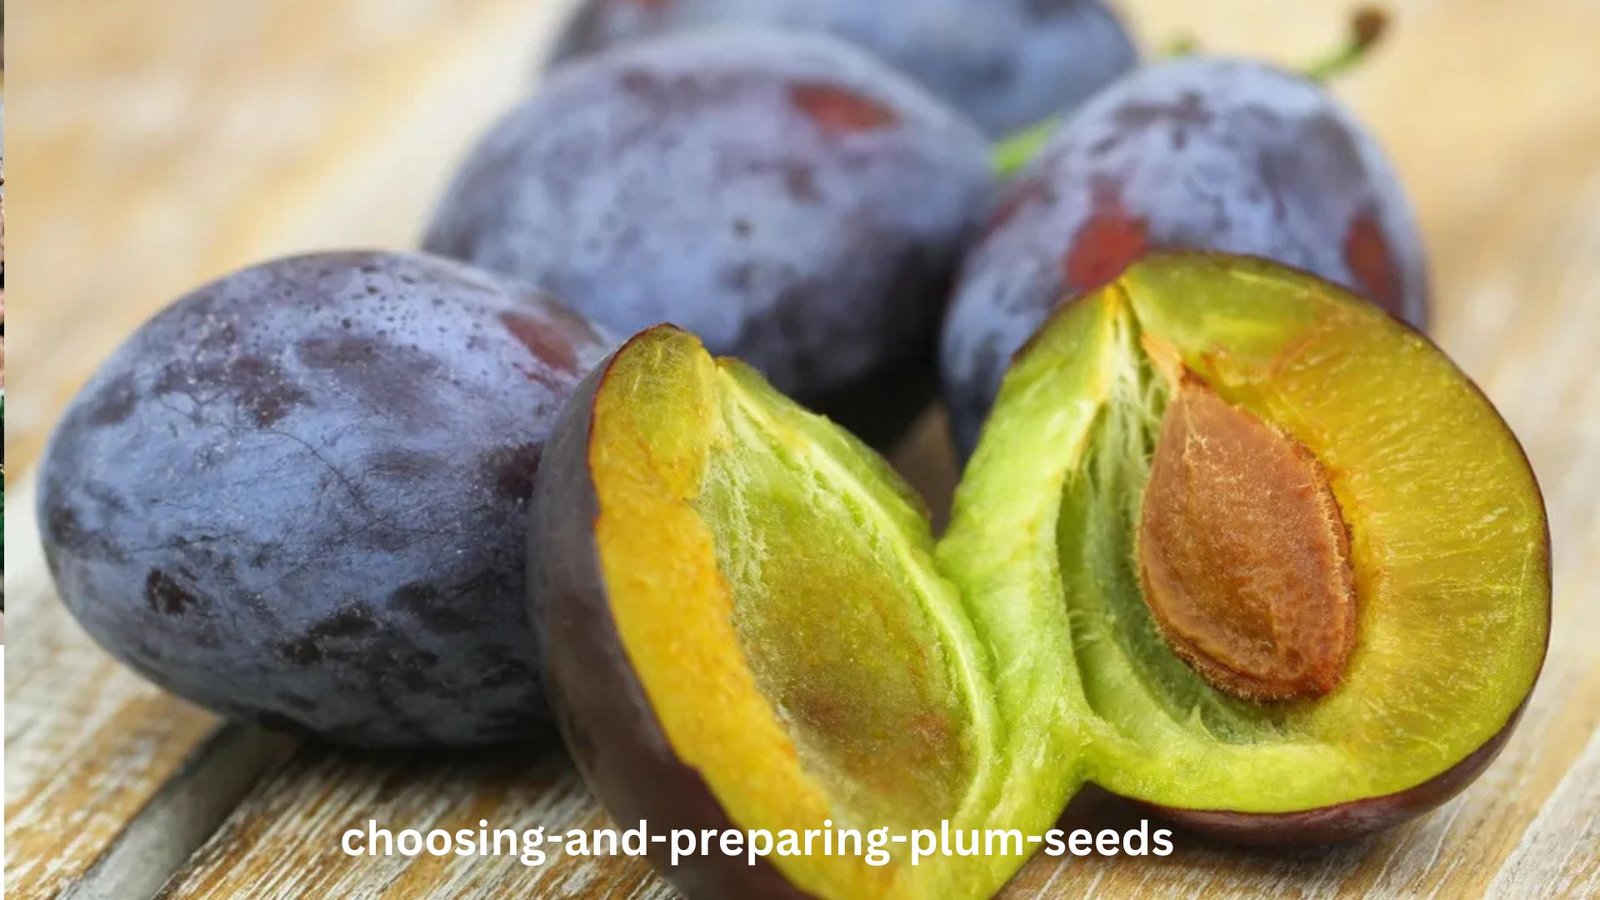
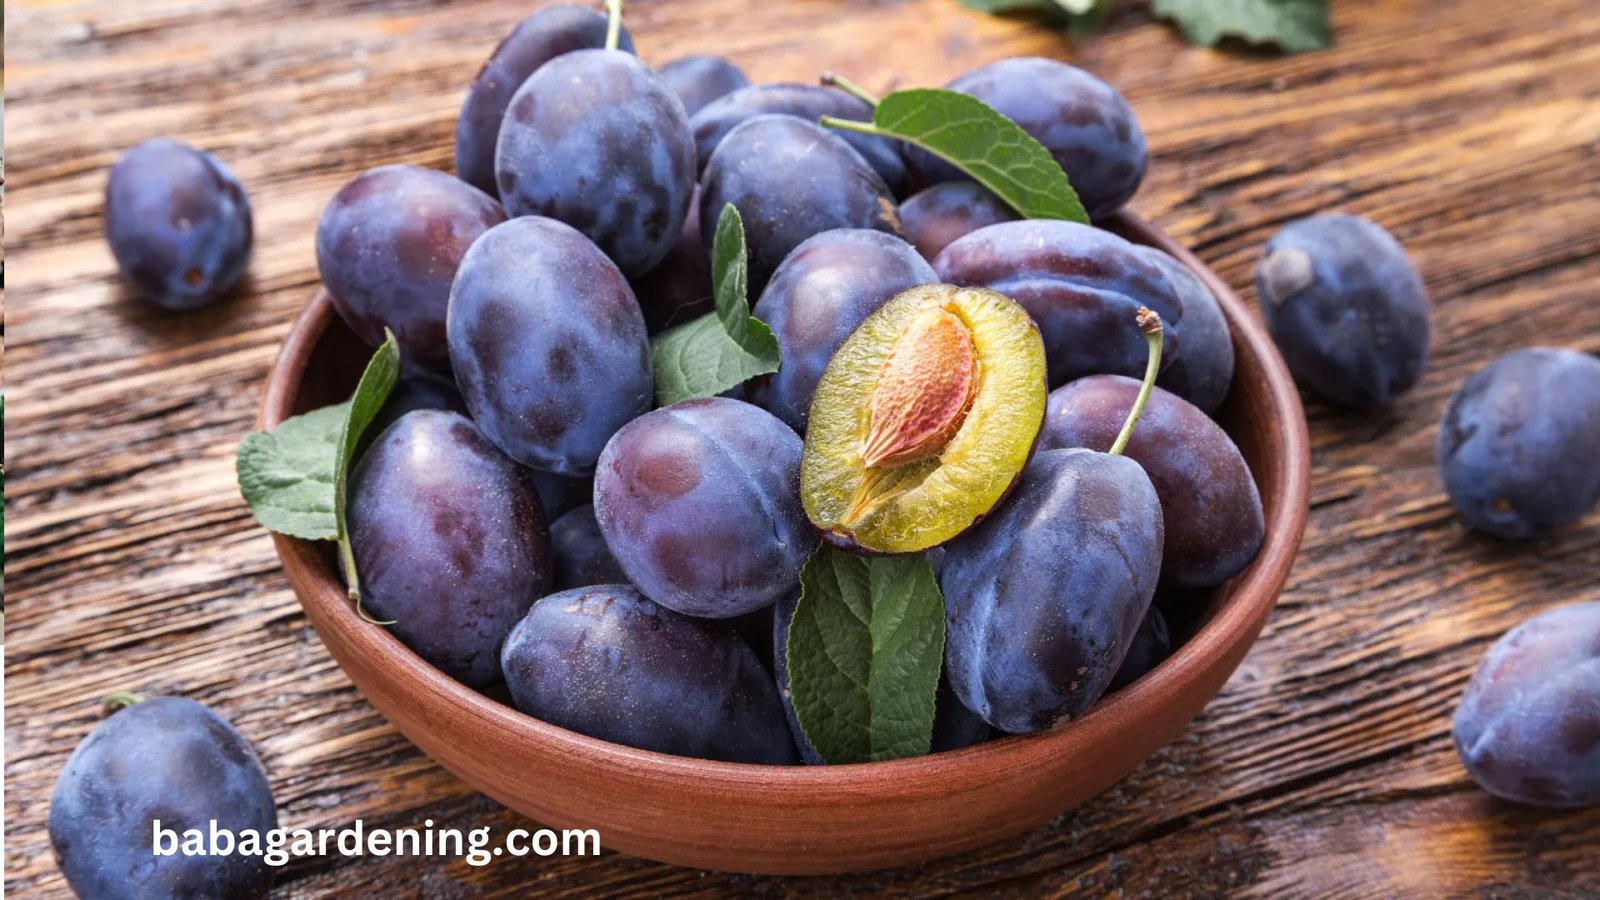
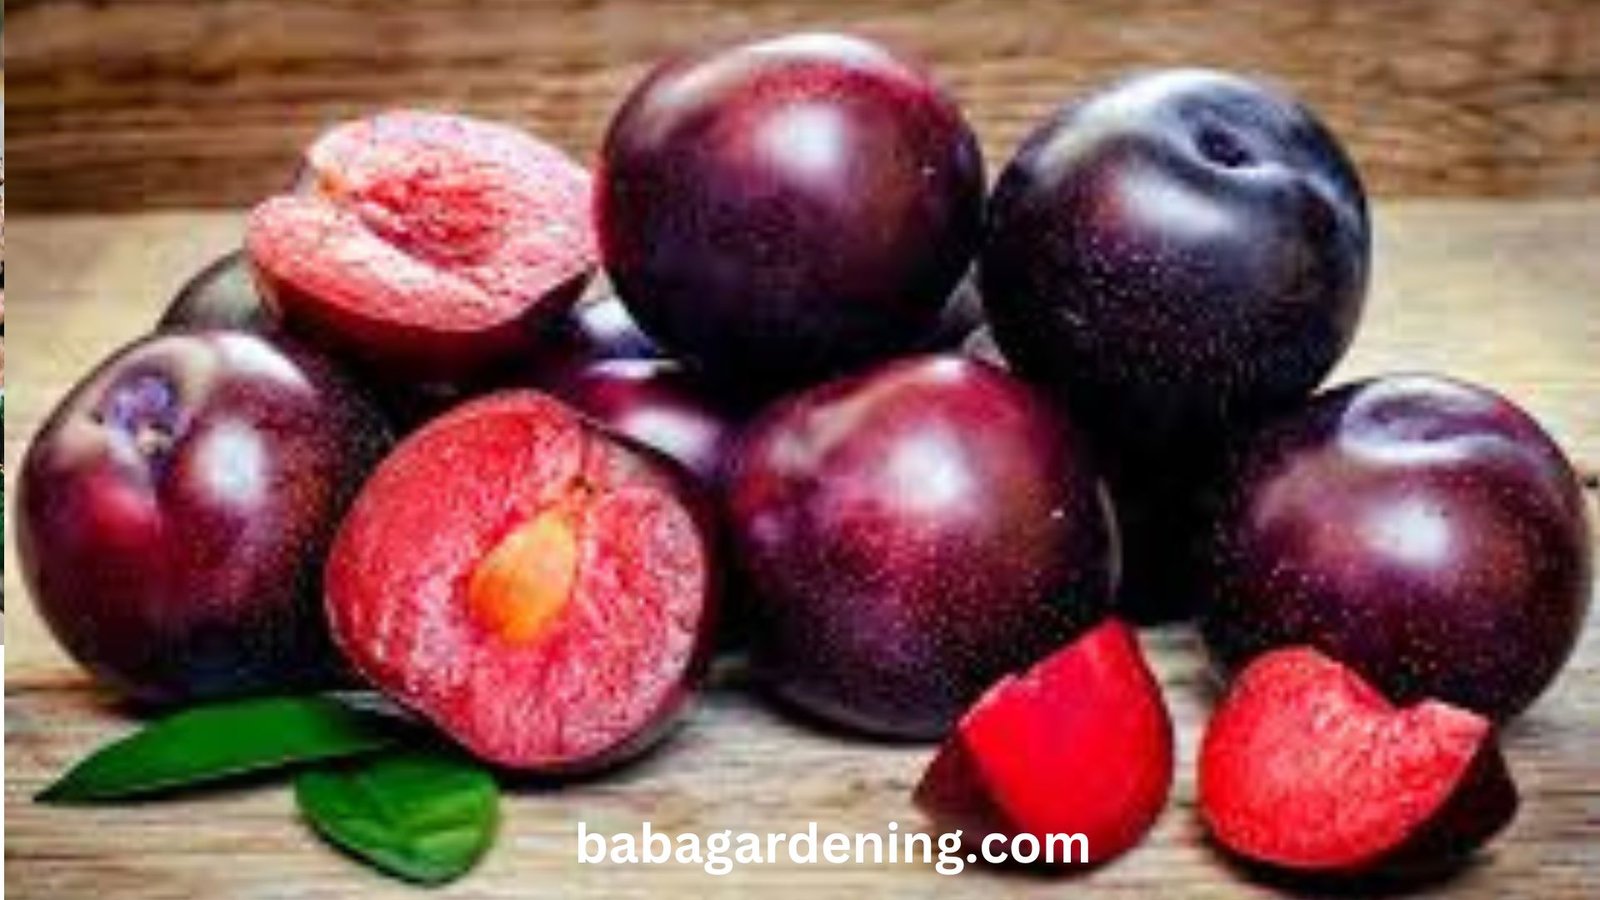
The first step is finding good seeds. Always choose ripe, healthy fruit from a trusted source. If you want the best chance, pick several plums instead of one. This increases your chances of success. After eating the fruit, clean the pit thoroughly. Learning how to prepare plum seeds for planting is vital because leftover fruit flesh can cause mold or rot.
Once the pits are clean, let them dry in a warm spot for a few days. After that, you can use how to test seed viability (sink or float method) by placing pits in water. The ones that sink are usually viable. The floaters should be discarded. This simple trick saves time and effort later.
Do You Have to Crack Plum Seeds Before Planting?

Gardeners often ask, “Do you need to crack plum pits before planting?” The answer depends on your patience. Cracking helps speed germination, but it can also damage the seed inside if done carelessly. Many people use a nutcracker or gently tap with a hammer to open the hard pit.
If you decide not to crack, nature will take longer to break down the shell. That’s why cracking plum pits for germination is helpful for beginners. Just remember to be gentle. Damaging the seed can mean no sprout at all.
The Chilling/Stratification Process
Plum seeds need cold to sprout. This process is called stratification. You can mimic winter by keeping seeds in your fridge. This method is also known as the cold stratification process for plums. Place the seeds in moist paper towels, seal them in a plastic bag, and refrigerate for 6 to 12 weeks.
Stratification is one of the oldest fruit tree germination methods. Without it, many seeds will not sprout. If you are wondering, “Why won’t my plum seed sprout after chilling?”, it may be because the chilling period was too short, the seeds were not viable, or mold damaged them during storage.
How to Germinate Plum Seeds Successfully
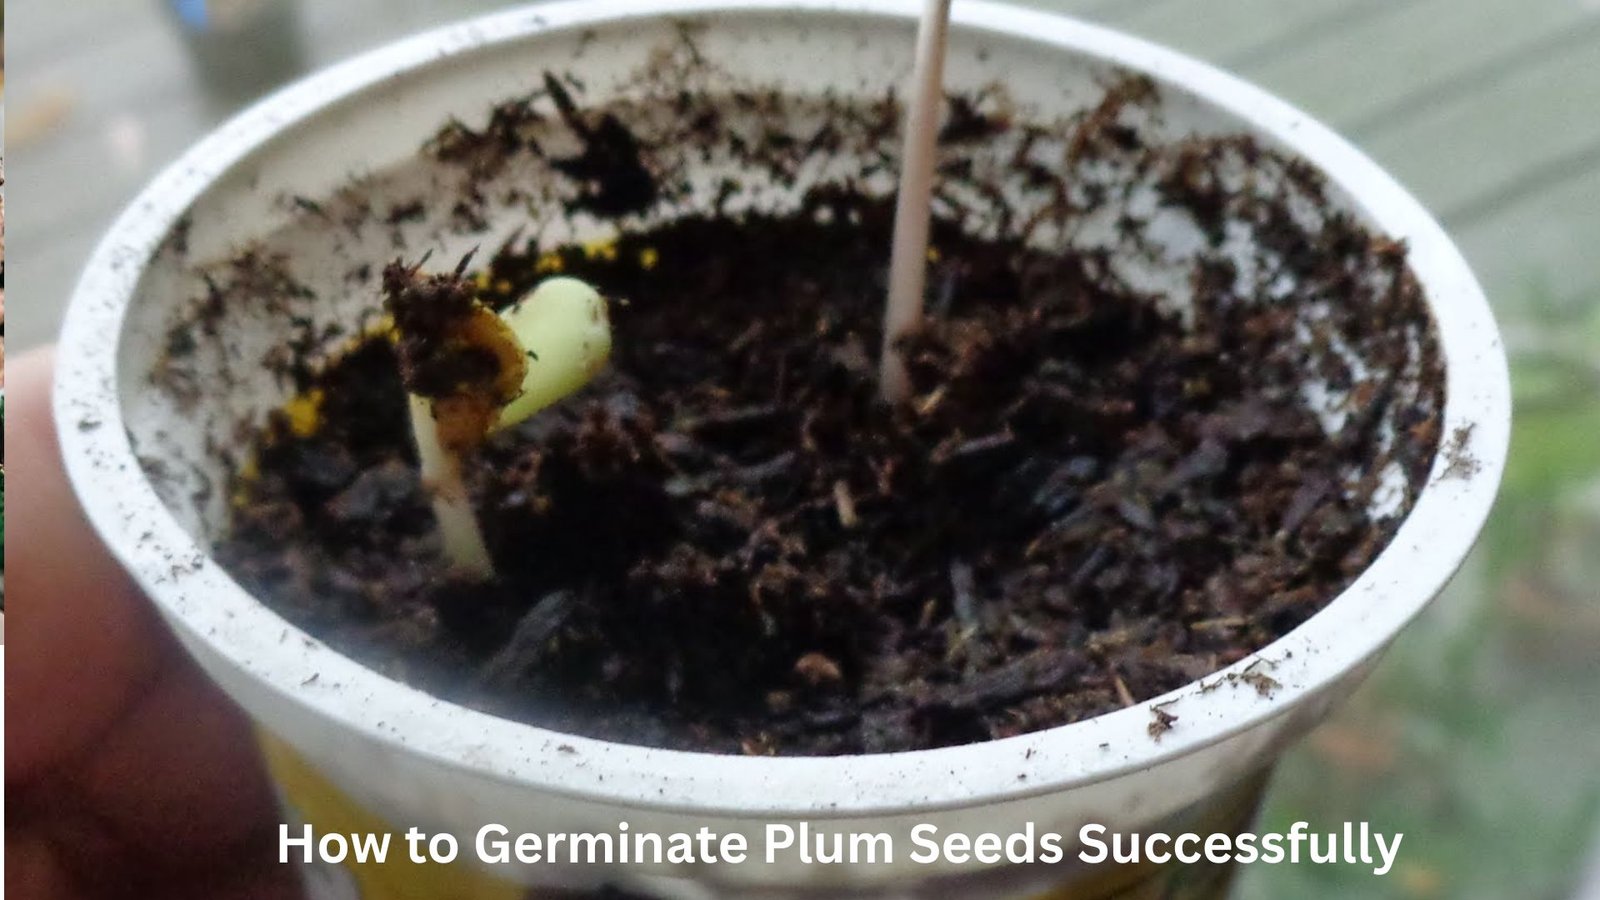
After chilling, the seeds are ready to sprout. The best method is placing them in moist soil or keeping them in a paper towel until roots appear. Gardeners often ask, “What is the best way to germinate plum seeds?”, and this method gives the highest success rate.
The first signs of germination are small white roots. Later they turn green. During this period, be sure the environment stays moist but not waterlogged. Avoid direct heat. Successful germination is the first step toward growing a healthy tree.
Planting Your Germinated Plum Seed
Once roots appear, you can plant your seed in a container. Many ask, “What soil is best for planting plum pits?” The answer is light, well-draining loam. Adding compost improves the soil and gives seedlings a strong start. This is often called the best soil for growing plum trees.
Choose a small pot with drainage holes. Cover the seed with two inches of soil and water it gently. Place it in a sunny spot indoors. At this stage, you have a container-grown plum tree care task ahead of you. The little tree will need sunlight, moisture, and protection from frost.
Caring for a Young Plum Tree
Growing a small tree into a strong one requires constant attention. Water the plant whenever the top soil feels dry. Add fertilizer during spring for strong roots and leaves. This is called plum tree care and maintenance, and it keeps your tree healthy.
If you wonder, “Can you grow plums indoors in pots?”, the answer is yes for the first stage. However, in the long run, your tree needs space and outdoor sunlight. Knowing when and how to move it is key for success.
How Long Does It Take for a Plum Tree to Bear Fruit From Seed?
One common question is, “How long does it take for a plum tree to bear fruit?” The usual plum tree fruiting timeline (3–6 years) depends on care, soil, and climate. Patience is important because seed-grown trees take longer than grafted ones.
Some trees never bear fruit, while others may surprise you with delicious harvests. Proper watering, feeding, and pruning will increase your chances. With care, your tree will reward you after years of waiting.
Troubleshooting Common Problems
Seeds not sprouting is a common issue. If you ask, “Why won’t my plum seed sprout after chilling?”, the answer may be a weak seed or too much moisture during stratification. Repeating the process with new seeds often helps.
Slow growth and yellowing leaves are also common problems with plum seed germination. Poor soil drainage or lack of nutrients is usually the cause. Good soil and careful watering will solve many of these issues. Transplanting young plum trees at the right stage also prevents stunted growth.
📊 Quick Reference Table: Plum Seed Growing Timeline
| Step | Time Needed | Key Action |
| Cleaning and drying pits | 3–5 days | Remove flesh, dry seeds |
| Cold stratification process for plums | 6–12 weeks | Chill seeds in fridge with moisture |
| Germination phase | 2–12 weeks | Roots appear, keep moist |
| Transplanting young plum trees | 6–12 months | Move from pot to larger container or outdoors |
| Plum tree fruiting timeline (3–6 years) |
Conclusion – From Seed to Sweet Harvest
You now know how to grow a plum seed into a tree full of delicious fruit. The journey begins with a simple pit, continues with germination, and ends years later with juicy plums on your tree. While success is never guaranteed, the learning and fun are always rewarding.
So the next time you finish a ripe plum, don’t toss the pit. Plant it, nurture it, and see what nature offers. Whether indoors or outdoors, your small seed may grow into a tree that feeds you for years to come.
FAQs
Q1. Can you grow a plum from a plum seed?
Yes, you can grow a plum from a plum seed, but it may take years and the fruit might differ from the parent tree.
Q2. How to crack open a plum seed at home?
Use a hammer or nutcracker carefully to remove the hard pit and reveal the almond-shaped seed inside.
Q3. How do you germinate plum seeds indoors?
Place cleaned seeds in a moist paper towel inside a plastic bag and refrigerate for 2–12 weeks to mimic winter.
Q4. When should I plant a plum seed?
Plant the seed in spring after germination, in well-draining soil with plenty of sunlight.